Chapter 1 · Learn the Trade
Real Estate Photography
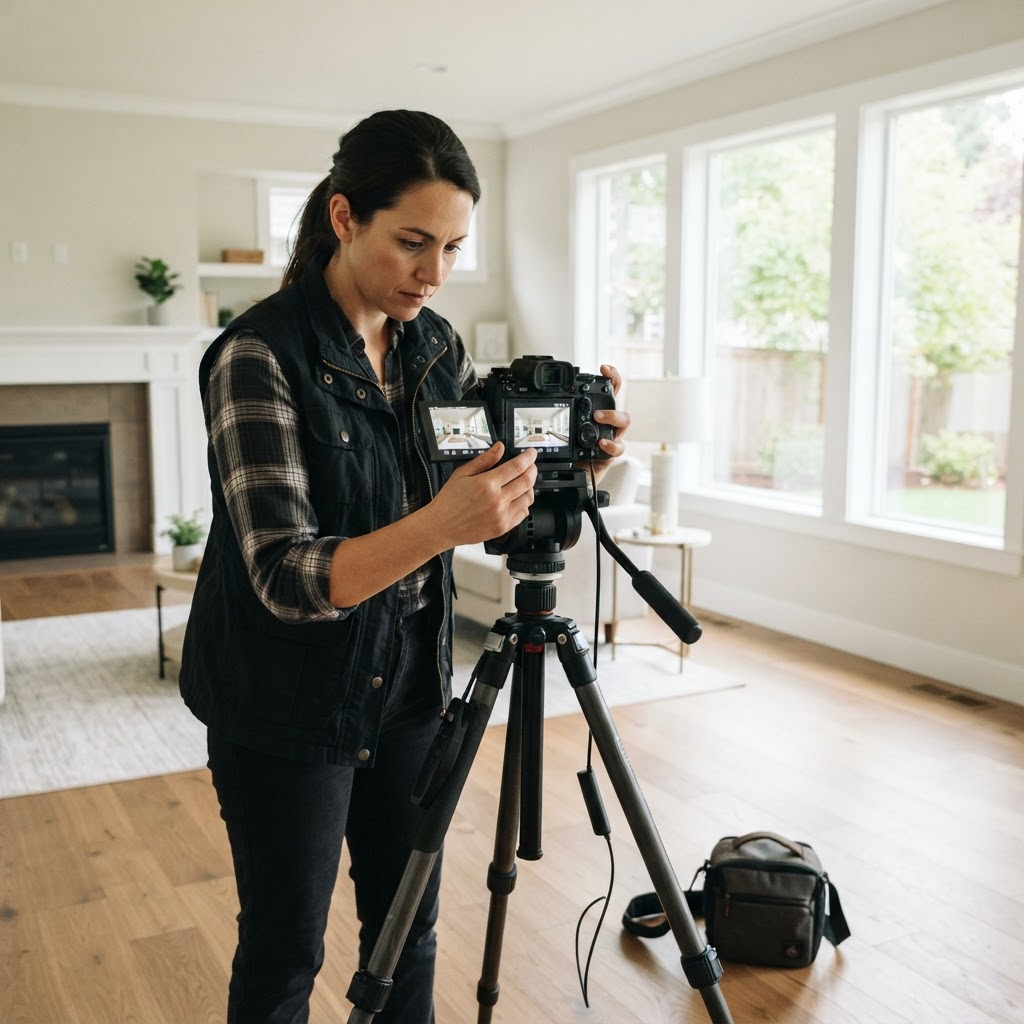
Launch a Real Estate Photography BusinessMarket Properties Through the Lens.
Never shot a home professionally? No problem. You will learn the essential photography techniques, interior lighting setups, and post-processing standards required to deliver high-quality images that help agents sell homes faster.
The honest numbers, before you start.
$2,000 - $5,000
Startup cost
1 - 3 months
Time to first income
$3,000 - $7,000 per month
Income potential
Beginner
Level
Scroll to step inside
Before we start
Where are you starting?
Pick one and we'll take you to the right place. You can change it any time.
What real estate photography is really like
Honest breakdown of what to expect as a starter.
0–0 hours
Time per job
Shoot time plus 2–4 hours of editing per property
$0–$0
Typical startup cost
Includes full-frame camera, wide-angle lens, tripod, and software
0–0 weeks
Time to first paid job
Depends on your portfolio build and local networking
Moderate
Physical demand
Constant walking, carrying gear, and maneuvering around tight spaces
Real estate photography is 30% photography and 70% lighting management and editing. You must control light to show a home's true potential.
Speed and consistency are everything. Real estate agents prioritize reliability and quick turnaround times over artistic perfection.
You are a service provider. You will be entering clients' private spaces, moving furniture, and staging small items to make rooms look perfect.
The income is variable. If you charge $200 per shoot and book 4 shoots a week, that is $800/week before taxes, travel, and software subscriptions.
Is this for you?
You'll do well if
- You have an eye for spatial composition and interior design
- You are comfortable with technology and editing software
- You enjoy meeting people and are comfortable taking charge during a shoot
You'll struggle if
- You struggle with repetitive tasks and color correction
- You are easily frustrated by 'challenging' spaces with bad lighting or clutter
- You dislike the time-intensive process of post-processing images
Quick guess
What does one standard listing photo package (25-40 hdr/flash photos) sell for?
Guess before you see it. Guessing first helps you remember the real number.
$15
The Core Services
What a real estate photographer actually does
14 services people pay for. Here's what each one is, what it takes and what it pays.
01 / 14
Standard Listing Photo Package (25-40 HDR/flash photos)
Interior and exterior stills of a typical home, edited and delivered MLS-ready.
$150-$350
Typical price
1-1.5 hrs on site, 1-2 hrs editing, next-day delivery
Time
02 / 14
Luxury Home Photo Package (50-75+ photos)
Extended shoot of large or high-end homes with detail shots and premium editing.
$400-$1,200
Typical price
2-4 hrs on site, 3-6 hrs editing
Time
03 / 14
Drone Aerial Photos
5-15 aerial stills showing lot, roof, and neighborhood context.
$100-$250 add-on ($200-$400 standalone)
Typical price
20-45 min on site, 30-60 min editing
Time
04 / 14
Twilight Photography
3-8 dusk exterior shots with all lights on, blended for dramatic effect.
$150-$400
Typical price
45-60 min at sunset, 1-2 hrs editing
Time
05 / 14
Virtual Twilight Conversion
Daytime exterior edited to look like dusk.
$15-$50 per image
Typical price
24-48 hrs turnaround
Time
06 / 14
Listing Walkthrough Video (1-3 min)
Cinematic gimbal video with music, branded and unbranded versions.
$250-$700
Typical price
1-2 hrs on site, 3-6 hrs editing
Time
Later
And 8 more services as you grow
Hover and scroll, swipe, or use the arrows.
01 / 07 · 2 skills
Gear, Software & On-Site Logistics
Quick guess
How many separate skills does a working pro use?
Start here · the first three skills
Learn these three before anything else.
The big three
Three things do the real work.
If you buy nothing else yet, buy these. Together from about $810 at the value tier, less if you buy used.
Cameras
Full-frame or APS-C mirrorless camera
Full-frame or APS-C mirrorless camera with auto-bracketing and 4K video
Auto-bracketing lets you capture the range of exposures needed to show both bright windows and darker interiors in one finished image.
The rest of the kit, when you need it.
18 items for day one and 67 in all, sorted by when to buy. Always use a cable release or the camera's self-timer to prevent vibrations when hitting the shutter button.
We may earn a commission from some links. It never changes what we recommend, and we'll tell you when the free option is enough. As an Amazon Associate, BeProEx earns from qualifying purchases.
Practice Strategy
Build your portfolio
Photograph your own residence
Treat your home like a million-dollar listing. Shoot every room and edit them to the best of your ability.
Build a portfolio of 'mock' listings
Ask a friend if you can photograph their home. Offer them the high-quality photos for free in exchange for portfolio use.
The first 'test' shoot
Reach out to a new agent offering one free shoot. Use this experience to understand the pace and expectations of a real listing.
Safety and Professionalism Rules
- Always respect the property; never move items that could break without permission.
- Ensure your tripod feet are covered or padded to prevent scratching expensive hardwood floors.
- Always check local laws regarding property access and privacy.
- Keep cables tucked away to avoid trip hazards for clients or homeowners.
Practice checklist
Before your first paid job
0/4 done · sign in to save progress
From Shop Talk
What people doing this say about learn the trade
Real Estate Photography Shop Talk opens soon
We open a trade's Shop Talk once enough people are building that business, so your questions get real answers from day one. It opens at 25 people.
Working real estate photography pros correct this guide as certified Experts. Become an Expert
See something wrong? Suggest a change to this guide
Common Pitfalls
Mistakes that cost you money
Mistake 01
Failing to turn off all indoor lights
Mixed light sources lead to ugly orange/blue color contamination.
Keep scrolling for the fix
Instead
Turn off all interior lights unless you specifically need them for staging.
Mistake 02
Over-processing the 'look'
Agents want the home to look realistic, not like an over-saturated digital painting.
Keep scrolling for the fix
Instead
Stick to neutral, natural-looking white balance.
Mistake 03
Neglecting the 'before' staging
No amount of editing fixes a messy room.
Keep scrolling for the fix
Instead
Take 10 minutes to declutter before opening your tripod.
Question 1 of 2
What is the most important step to prevent keystone distortion in real estate shots?
Chapter 1 complete · 1 of 7 steps done
You just started a business plan.
Every choice you made on this page went into it. Scroll to see version 1 of your real estate photography business.
Built by AI from your choices
Your real estate photography business, version 1
Updates as you change your choices
Starting point
Not picked yet
Services you'd offer
None picked yet. Tap "I'd offer this" on any service.
Your big three
Full-frame or APS-C mirrorless camera · Ultra-wide zoom lens · Sturdy tripod · from about $810
First three skills
Building and maintaining a real estate photography kit · Card backup and file redundancy workflow · Room composition and camera height
Don't lose it. Create a free account.
Right now your plan only lives in this browser. An account keeps it.
- Your plan, saved and growing through all 12 chapters
- Progress kept on every device
- Ask the Professor, 3 questions a day
Free. No card. Reading stays free either way.
Next · Chapter 2
Master the Craft
Every beginner and pro skill of real estate photography: the video, the steps, the mistakes, a practice drill and the gear for each one.
Are you a working pro in real estate photography? Help improve this guide